
The difference between walking into an operating room knowing the operation’s name and actually being prepared is enormous. For a resident, useful case preparation is not memorizing every paragraph of a textbook. It is building a mental map: why this patient needs this operation, what anatomy matters, what the critical steps are, where the case can become difficult, and what you will do next when someone asks.
This is a practical way to do that when residency gives you 15 minutes rather than an entire evening.

Case prep is not about impressing the attending
Residents quickly discover that “What are the steps?” is only one kind of question in the OR. You may be asked why the patient needs surgery, why this approach was chosen, what structure is behind the one you are looking at, what the important imaging showed, or what complication you are trying to avoid.
That is why preparation should begin with the patient rather than the procedure video. The operation is being performed on a specific person with specific anatomy, disease and risk. A technically accurate description of a laparoscopic cholecystectomy is not enough if you have not noticed that the imaging suggests difficult inflammation, the liver tests changed overnight, or the patient previously had major upper-abdominal surgery.
This way of thinking also fits the direction of modern surgical education. The American College of Surgeons describes operative frameworks as a way for trainees to understand critical steps, anticipate what comes next and understand the rationale behind technique—not simply memorize movements. A 2025 study of a resident-centered “whiteboard time out” similarly had residents prepare around indications, key steps and possible complications and found improved operative performance after implementation.
The 15-minute resident case-prep method
If you have more time, use it. If you do not, this sequence forces you to spend the limited time on information that can actually change how you understand the case.
Minutes 0–3: Know why this patient is in the OR
Before reviewing technique, answer five basic questions from the chart:
- What is the diagnosis?
- Why is an operation indicated now?
- What operation is planned?
- What major previous operations or comorbidities could change the case?
- Is there anything in today’s labs, observations or treatment that matters before incision?
You are trying to produce a one-sentence problem representation, not rewrite the admission note. If you cannot explain why the patient is having surgery, you are not ready to move on to trocar positions or suture choice.
Minutes 3–6: Look at the imaging yourself
Reading the radiology report is useful. Looking at the relevant images is different. Even as a junior resident, find the pathology, orient yourself anatomically and identify the feature that matters for the operation. Depending on the case, that may be the location of a tumor, the relationship to vessels, ductal anatomy, a transition point, an abscess, the size and position of a hernia defect, or evidence of previous surgery.
You do not need to pretend to be a radiologist. The goal is to connect the written diagnosis to the anatomy you are about to see.
Minutes 6–10: Build the operation as a sequence
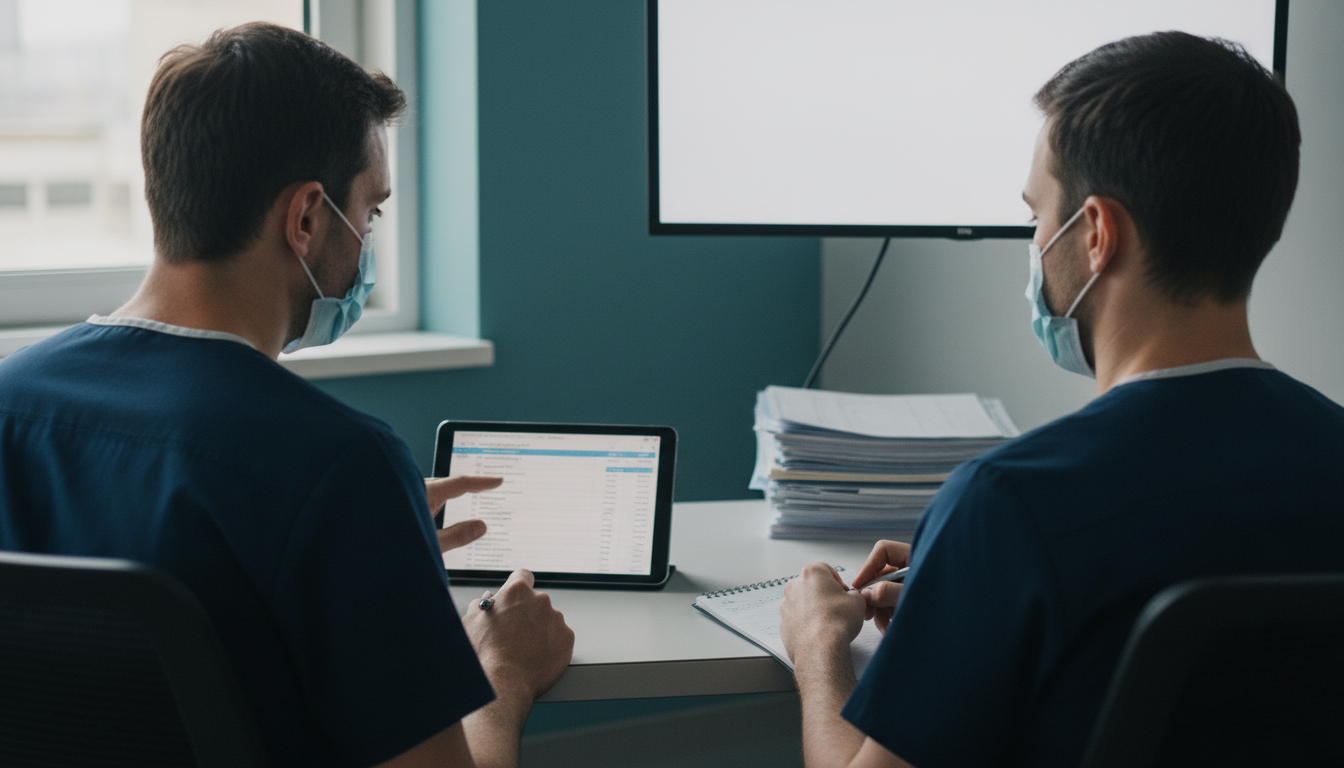
Now reduce the procedure to its major phases. The exact number does not matter. What matters is being able to move mentally from beginning to end without disappearing into tiny technical details.
For a generic abdominal operation, your map might include positioning and access, exposure, identification of the target anatomy, dissection, control or division of key structures, reconstruction or specimen removal, inspection for problems, and closure. A specific operation will obviously have a much more specific sequence.
For each phase, ask: What am I trying to achieve? What structure matters? What can go wrong here?
This is much more durable than memorizing a numbered list. If the anatomy is different from the textbook—and real anatomy often is—you still understand the purpose of the step.
Minutes 10–13: Identify the danger points
Every operation has moments where judgment matters more than speed. What structures are at risk? What finding would make the team change strategy? When might an open conversion, additional imaging, a different reconstruction or senior help become necessary?
This is where preparation begins to look like surgical thinking rather than exam revision. You are not predicting every possible complication. You are identifying the few points in the operation where losing orientation could matter most.
Minutes 13–15: Decide what you want to learn
Pick one or two targets. Maybe you want to understand exposure. Maybe you want to perform the opening safely, improve camera navigation, practice a particular dissection plane, or understand how the attending decides that a structure is adequately identified.
A specific target also makes feedback easier. “Any feedback?” often produces “good job.” Asking, “Was my tissue tension appropriate during that dissection?” gives the supervisor something concrete to answer. The site’s guide to getting useful feedback in surgical residency goes deeper into that process.
What to know before you scrub
A useful pre-scrub mental check is:
- Patient: diagnosis, indication, relevant history and major risk.
- Imaging: where the pathology is and what anatomy matters.
- Plan: intended procedure and approach.
- Sequence: the major operative phases.
- Anatomy: structures you must identify and protect.
- Danger: the main complications and difficult decision points.
- Learning target: what you hope to understand or perform today.
That is a much more useful definition of “prepared” than being able to recite a chapter.
Do not confuse preparation with memorization
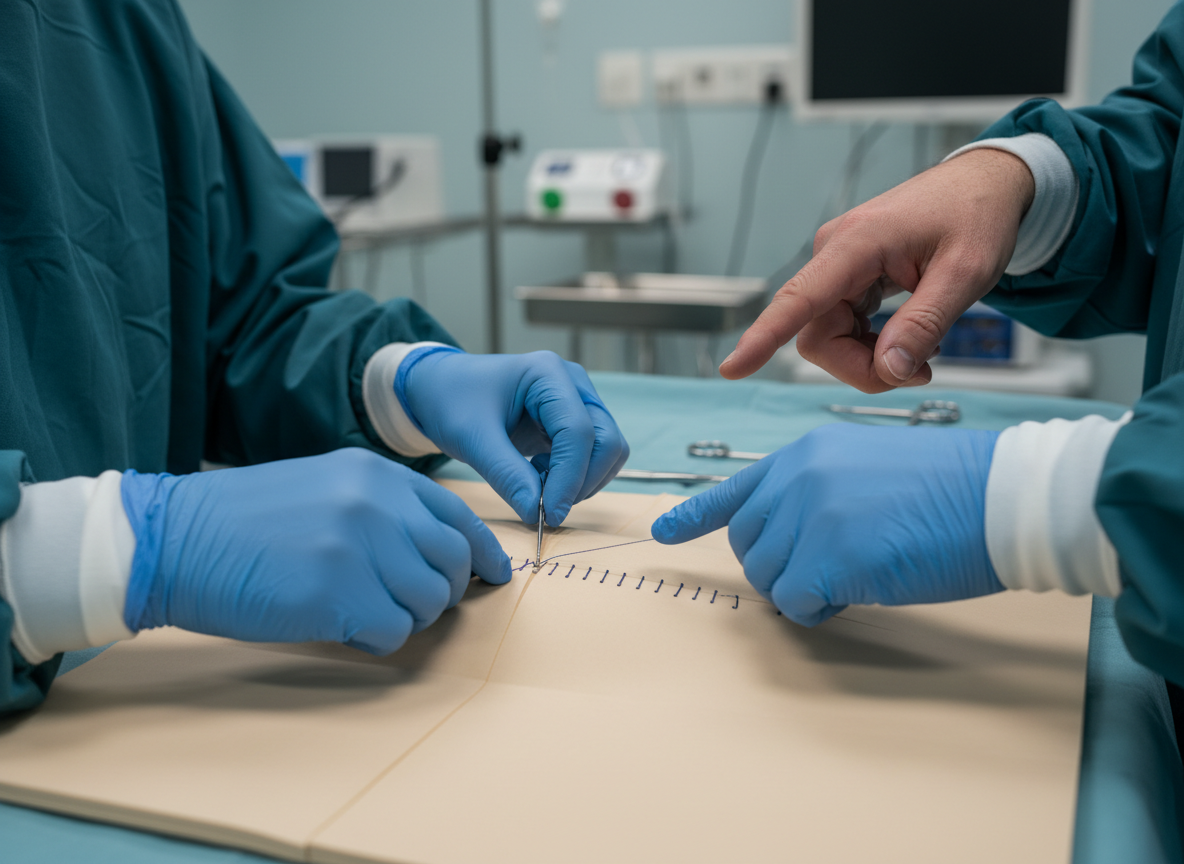
Residents can spend a lot of time preparing badly. Reading an entire chapter at midnight may feel responsible, but if you arrive unable to state the indication or find the pathology on imaging, the effort was poorly targeted.
Likewise, watching a procedure video at double speed can create an illusion of familiarity. The operation looks obvious when an expert performs it on edited footage. In the OR, the difficult part is often recognizing anatomy, maintaining exposure, knowing what not to divide, and understanding why the next move is appropriate.
The ACS/APDS Surgery Resident Skills Curriculum reflects this broader idea of training: early residents develop core technical skills, more advanced residents progress to complex procedures, and team-based skills are explicitly trained as well. Operative competence is not one dimension.
What if you are assigned to the case at the last minute?
This happens. A list changes, an emergency arrives, another resident is unavailable, or you are moved between rooms. Do not respond by trying to learn everything in five minutes.
Compress the same framework: indication, relevant imaging, planned procedure, major anatomy, major danger. Then be transparent about what you know. Safe surgical training does not require pretending that you had hours to prepare when you did not.
The operating-room safety process also exists independently of your personal preparation. The WHO Surgical Safety Checklist organizes team checks before anesthesia, before incision and before leaving the operating room, with the explicit goals of reducing errors and improving teamwork and communication. Your private mental checklist should complement—not replace—the formal team process.
Preparation changes as you become more senior
Junior preparation is often anatomy-heavy: What is this structure? What are the steps? Where do I stand? Senior preparation increasingly becomes decision-heavy: Why this operation? Why this approach? What are the alternatives? What will I do if the expected plane is absent? When should I stop?
That transition is part of the larger move toward operative autonomy. If you are in that stage, read how surgical residents actually earn operative autonomy and what the middle of surgical residency feels like.
The habit that matters
You will not be perfectly prepared for every operation in residency. The service is too unpredictable for that. The more realistic goal is to build a repeatable method that still works when you are tired, the list changes, or you have only a few minutes.
Know the patient. See the pathology. Build the sequence. Find the danger points. Choose a learning target.
Then scrub in ready to learn rather than merely ready to be present.
Last reviewed: October 26, 2026. This article is educational and should be adapted to local protocols, supervision and the specific operation.
Sources and Further Reading
- American College of Surgeons: ACS/APDS Surgery Resident Skills Curriculum
- American College of Surgeons: Operative Standards for Cancer Surgery as a resident education resource
- Cho Y, et al. Whiteboard Time Out Improves Resident Operative Performance. Journal of Surgical Education. 2025.
- World Health Organization: Surgical Safety Checklist tools and resources




Leave a Reply